Introduction
I recently needed a simple, secure place to drop files and documents (like PDFs, images, and configuration files) and give people a direct, permanent, HTTPS-secured link. Relying on the WordPress media library wasn’t scalable, and I wanted to keep the files on my central NFS-mounted storage here in the homelab.
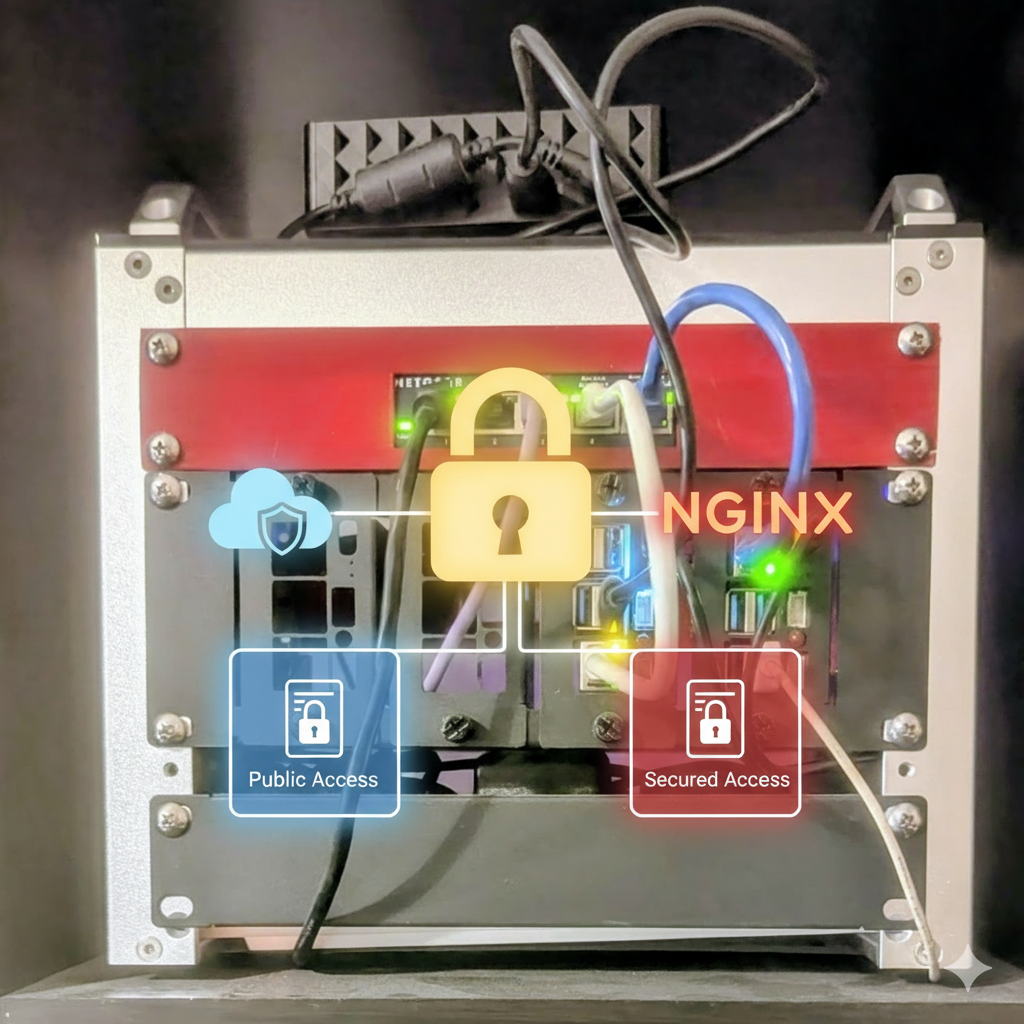
This post details how I built a robust, low-overhead file server using an NGINX Docker container and secured external access with Cloudflare Tunnels. The best part? It allows for both public links (for QR codes) and a password-protected area—all from the same URL.
Key Technical Goals Achieved
- Direct File Serving: Serve files directly from an existing NFS/Samba shared directory on the host.
- Zero-Trust Access: Use Cloudflare Tunnels to expose the service via HTTPS without opening any firewall ports.
- Dual Security Zones: Create a single endpoint with two distinct access areas:
- Public: Unrestricted access for things like QR codes and public assets.
- Secured: Requires a username and password (HTTP Basic Auth).
- No Directory Browsing: Prevent unauthenticated users from seeing a list of files (
autoindex off).
The Architecture: NGINX and the Magic of Bind Mounts
The entire solution runs inside one minimal nginx:alpine Docker container. The trick is using Docker bind mounts to inject the correct files and folders:
| Host Resource (Source) | Container Path (Destination) | Purpose |
/mnt/SSD/HOME/PUBLIC-SHARE | /usr/share/nginx/html | Data: The root folder for ALL served files. |
/mnt/DockerFiles/nginx-fileshare/default.conf | /etc/nginx/conf.d/default.conf | Configuration: Tells NGINX how to serve and protect folders. |
/mnt/DockerFiles/nginx-fileshare/.htpasswd | /etc/nginx/htpasswd/.htpasswd | Security: Provides usernames and hashed passwords for secured area. |
The NGINX Configuration (default.conf)
This file is the core of the solution, establishing the public root and applying basic authentication to the /secured/ subfolder.
Nginx
server {
    listen 80;
    server_name localhost;

    # Hide NGINX version for security by obscurity
    server_tokens off;

    # Sets the web root to the main mounted data folder
    root /usr/share/nginx/html;

    # --- PUBLIC ACCESS (Root Location) ---
    location / {
        # IMPORTANT: Prevents users from seeing a list of all your files
        autoindex off;
        try_files $uri $uri/ =404;
    }

    # --- SECURED ACCESS (Only for the /secured/ subfolder) ---
    location /secured/ {
        auth_basic "Private Files - Authentication Required";
        auth_basic_user_file /etc/nginx/htpasswd/.htpasswd;

        autoindex off;
        try_files $uri $uri/ =404;
    }
}
Deployment with Docker Compose
I used a docker-compose.yml file to manage the service, ensuring all mounts were defined correctly.
YAML
version: '3.7'
services:
  nginx-file-server:
    image: nginx:alpine
    container_name: nginx_file_server

    ports:
      - "8081:80" # Target for my Cloudflare Tunnel

    volumes:
      # Data Mount (My files are here)
      - /mnt/SSD/HOME/PUBLIC-SHARE:/usr/share/nginx/html:ro

      # Configuration & Auth Files
      - /mnt/DockerFiles/nginx-fileshare/default.conf:/etc/nginx/conf.d/default.conf:ro
      - /mnt/DockerFiles/nginx-fileshare/.htpasswd:/etc/nginx/htpasswd/.htpasswd:ro

    restart: unless-stopped
🔐 Managing Users Securely (Creating the .htpasswd file)
This is a critical security step. Since the password file is mounted as read-only, we update it by running a one-off Docker command from the host machine. Always use a unique username and a strong, complex password for any public-facing service.
To create the file and add the first user (e.g., admin_user):
Bash
# REPLACE 'admin_user' and 'SuperS3c!RetP4ssw0rd' with your own secure values!
docker run --rm httpd htpasswd -nb admin_user 'SuperS3c!RetP4ssw0rd' > /mnt/DockerFiles/nginx-fileshare/.htpasswd
To add a subsequent user (e.g., guest_access):
Bash
# Omit the '>' and use '>>' to append to the file.
docker run --rm httpd htpasswd -nb guest_access 'Temp4cc3ssP4ss' >> /mnt/DockerFiles/nginx-fileshare/.htpasswd
Conclusion
This setup is the perfect balance of simplicity, performance, and security. Once deployed, any file added to the host directory /mnt/SSD/HOME/PUBLIC-SHARE is instantly available as a public link via my custom Cloudflare Tunnel domain. The links are stable, secured by HTTPS, and perfect for embedding in other applications or using in physical QR codes.