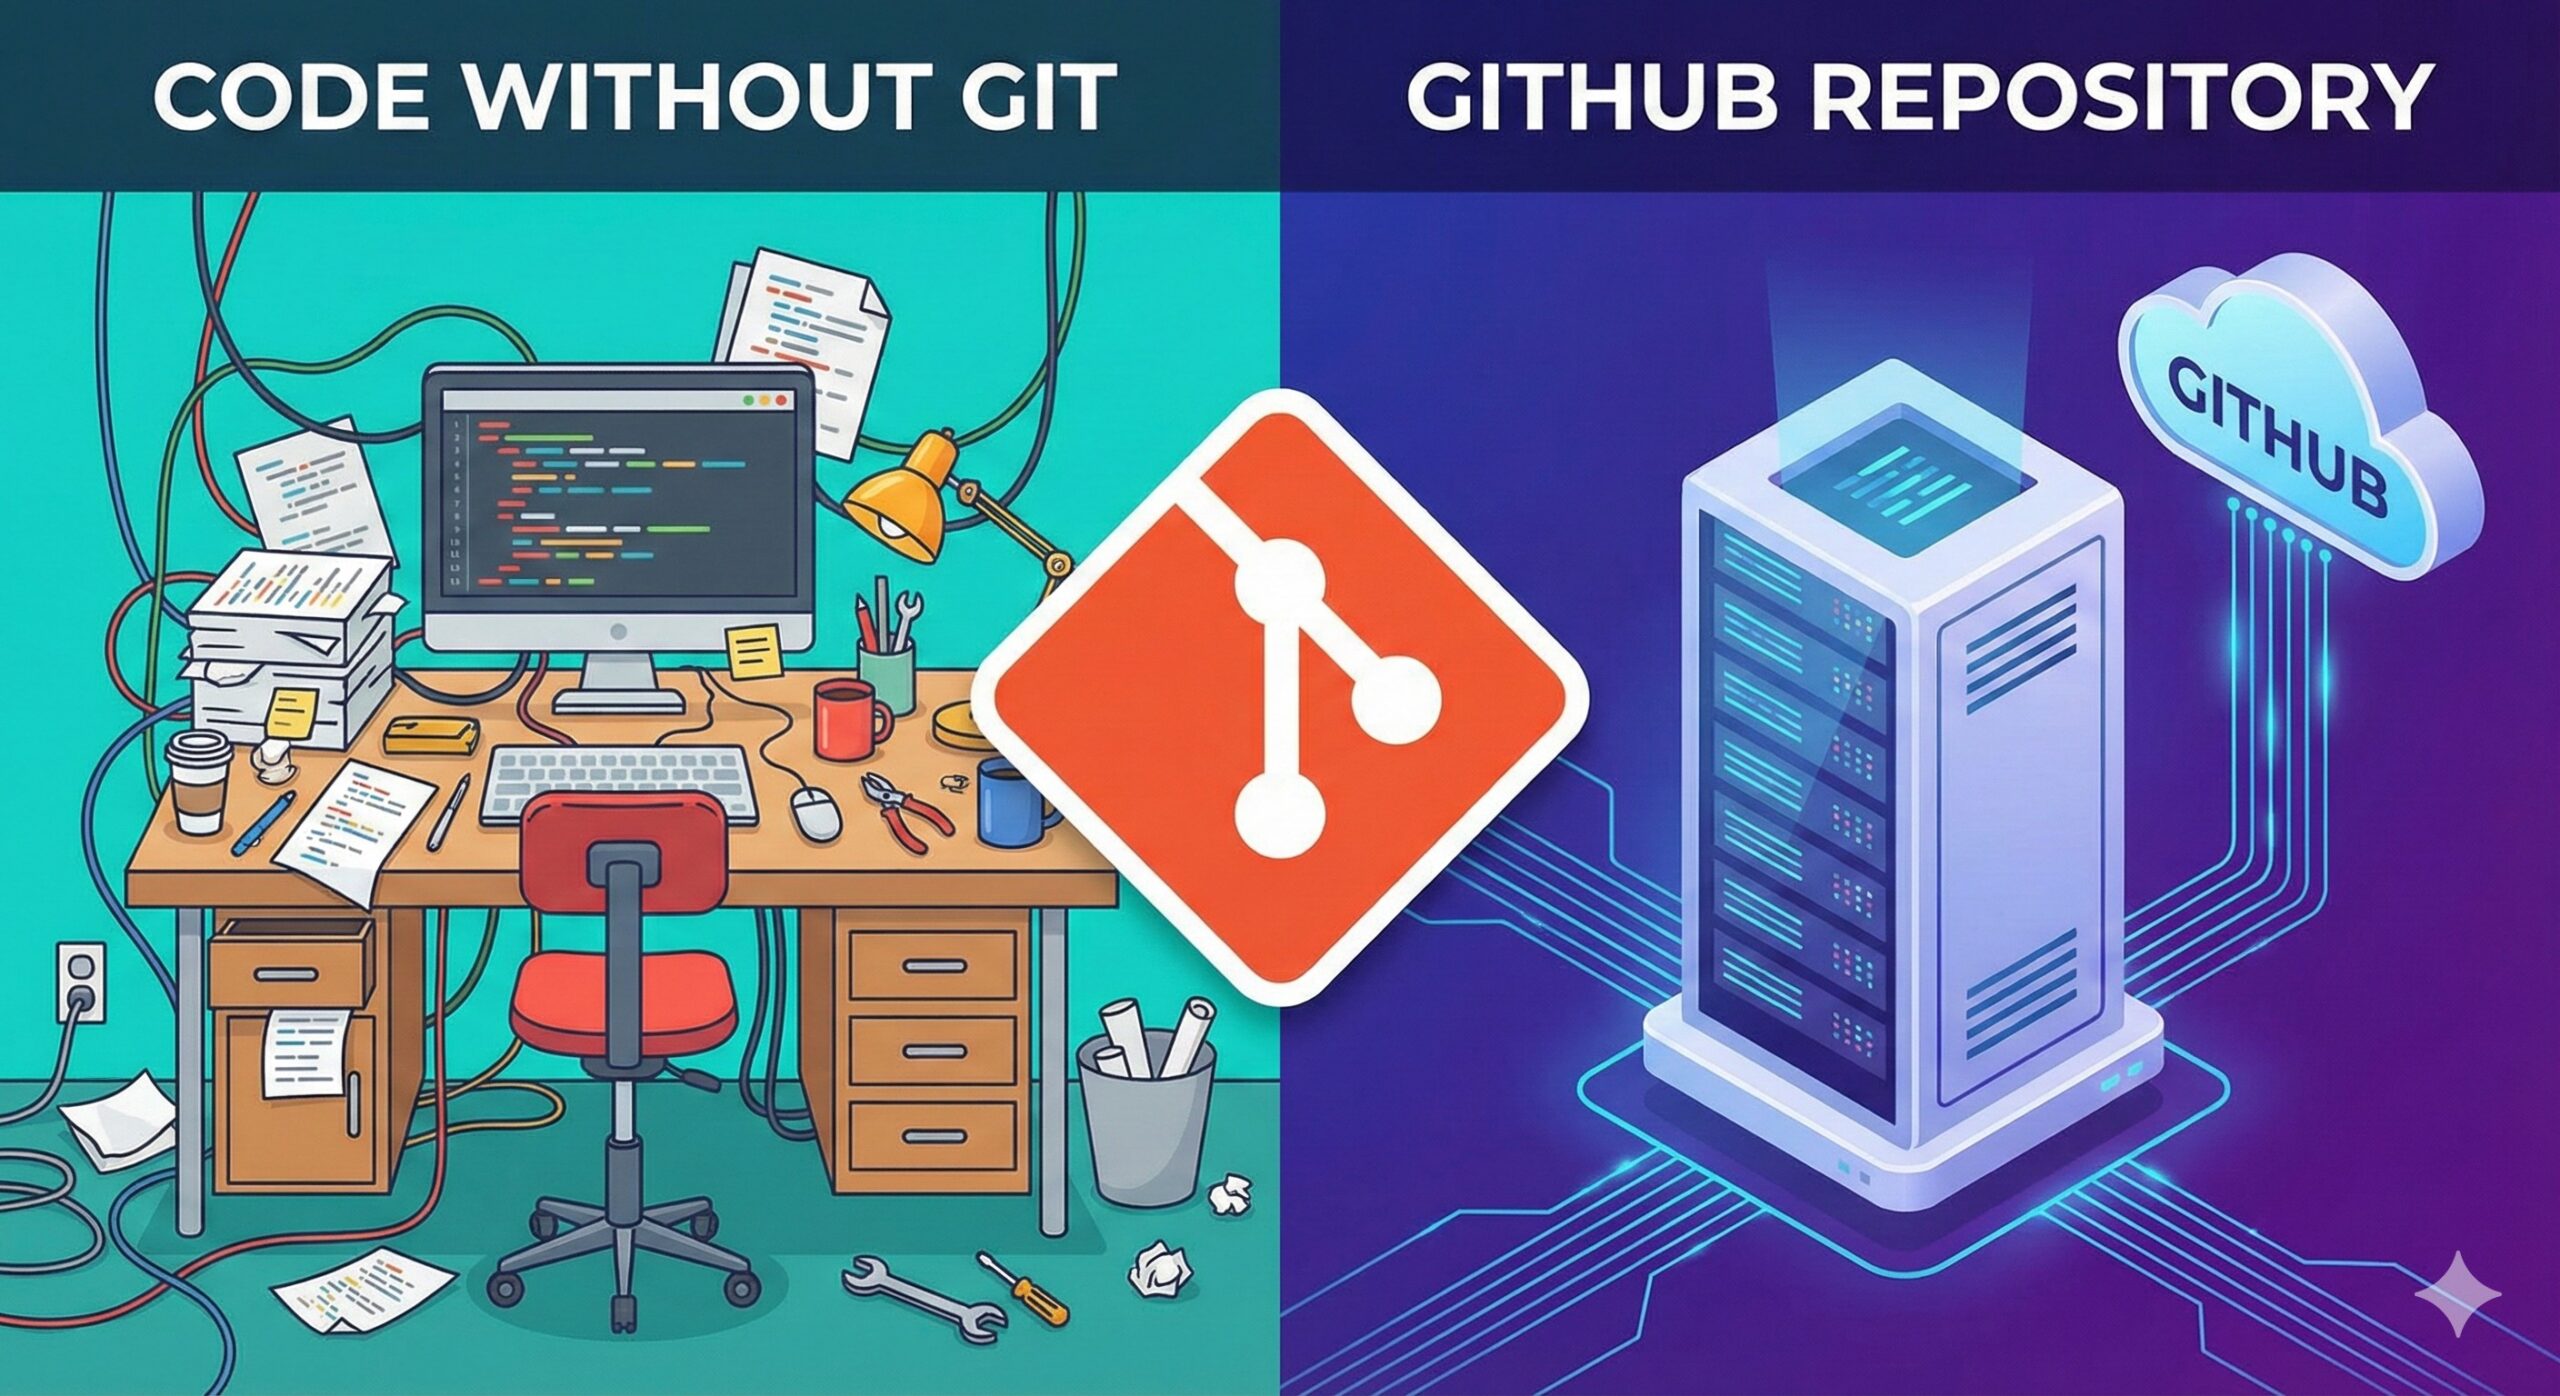
We have all been there. You spend three weeks coding a brilliant Python script on your Raspberry Pi. You finally get it working perfectly. Then, you decide to change one little thing… and you break everything. Or worse, your SD card corrupts, and your code vanishes into the silicon void.
This is why professional software engineers use Git.
Git is a “Version Control System.” It’s a time machine for your code. It allows you to save “checkpoints” of your project, so if you break something, you can instantly rewind to yesterday’s version.
In this guide, I’m going to show you how to take a messy project folder and push it to GitHub safely, using my BLE Scanner project as the example.
Step 1: The Setup (Git Init)
First, we need to tell our folder that it is now a repository.
I SSH into my Raspberry Pi and navigate to my project folder:
Bash
cd /mnt/DockerFiles/BLE_Scanner
git init
This command creates a hidden .git folder. My project is now being watched.
Step 2: The Safety Net (.gitignore)
This is the most critical step that beginners miss.
My BLE Scanner project contains three types of files:
- The Code: (
main.py,docker-compose.yml) -> SAVE THIS. - The Secrets: (
config_credentials.pycontaining my Wi-Fi passwords) -> NEVER SHARE THIS. - The Junk: (
ziggy_logs/containing 140MB of CSV files) -> IGNORE THIS.
If I just typed git add ., I would upload my passwords to the public internet and bloat my repository with massive log files.
I created a file named .gitignore and added the rules of the house:
Plaintext
# Secrets
config_credentials.py
.env

# Massive Data Logs
ziggy_logs/
*.db
*.csv

# System Trash
__pycache__/
Now, when I ask Git “What’s new?”, it completely ignores my secrets and logs. It only sees the clean code.
Step 3: The Checkpoint (Commit)
Saving code in Git is a two-step process: Staging and Committing. Think of it like shipping a package.
1: Stage (Put items in the box):
git add .This adds all the files (except the ignored ones) to the “box.”
2:Commit (Seal the box and label it):
Bash
git commit -m "Initial commit: Technoshed BLE Scanner V4.1"- The
-mmessage is crucial. It tells “Future You” exactly what this snapshot contains.
Step 4: The Cloud (GitHub)
My code is now safe on my Pi, but if my house burns down, the code is gone. I need an off-site backup.
I went to GitHub.com and created a new empty repository called technoshed-ble-scanner.
Then, I linked my local Pi to the cloud:
Bash
git remote add origin https://github.com/TechnoShed-dev/technoshed-ble-scanner.git
git branch -M main
Step 5: The Handshake (Authentication)
Here is the catch: GitHub doesn’t accept passwords anymore. When I tried to push, it failed.
To fix this, I had to generate a Personal Access Token (PAT) in my GitHub Developer Settings. This is a long, random string of characters that acts as a secure key for my Raspberry Pi.
With the token in hand, I fired the final command:
Bash
git push -u origin mainThe terminal flashed, compressing my Python scripts and Docker configs, and beaming them to GitHub’s servers.
The Result
My project is now live (and private) on GitHub.
I can browse my code from my phone. I can share the link with other developers. And most importantly, I can mess around with the code on my Pi tonight, safe in the knowledge that if I break it, I can restore the “V4.1 Stable” version with a single command.
Don’t just build it. Back it up.